
I was inspired originally by Amy Karol's pleated bag in her book Bend-the-Rules sewing. I wondered how pleating would look on checked fabric and with a whole bunch of pleats. It turns out that pleating checked fabric is very easy, especially is you use a really big checkered pattern. I simply sewed on the lines that the checks were on. I hope this tutorial will make sense for everyone. I tried to include as many photos as possible.
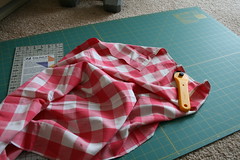
- Cut the fabric to the approximate size of the bag you would like. Be sure to allow extra, since pleating will take in the fabric. Also you want to leave room for the seam allowances. I kept my seam allowances at ¼”. I cut my fabric according to the size of the checks. I literally counted 15 checks horizontally and four checks vertically. This equals roughly 15”x5”
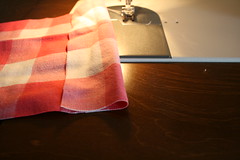
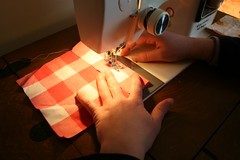
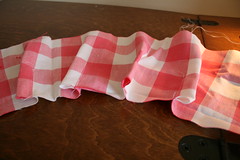
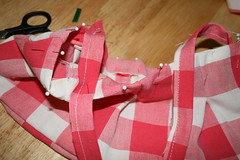
- Fold your fabric to the side approximately where you would like your first pleat to be. Start your pleat about half way down your material and sew in a straight line following your checked pattern back to the top. Where you decide to start sewing will be how long your pleats are. If the photos still don’t help you to sew a pleat, check out Amy Karol’s book Bend-the-Rules Sewing where she has a pleated bag with very nice descriptions.
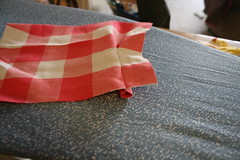
- Iron your pleat flat.

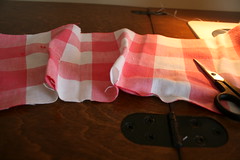
- Continue to add pleats on your fabric either folding and sewing the pleat at every check or at every other check. My purse is pleated at every other check.
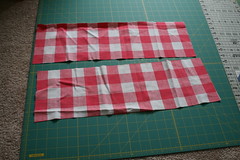
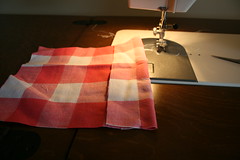
- The top or outside of my unironed pleated fabric looks like this.

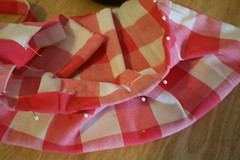
- The back or the inside looks like this.
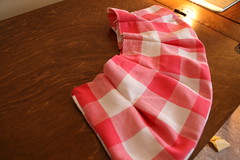
- Now turn your two pleated pieces of fabric with right sides together and sew the three sides. Be sure to leave the top unsewn (the top should be where all your pleats meet).

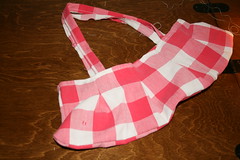
- Turn it inside out. The right side should now be facing out with the seams on the inside of the bag. You should now have a trapezoid shaped bag with a rounded top and bottom.

- You may want to line your bag with fabric. So as to not reinvent the wheel check out this tutorial for lining bags.
- Turn the open side of your purse’s seams in approximately ¼” all the way around the perimeter of the top of the bag.

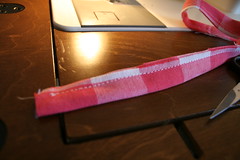
- Now you have the seams turned in but before you stitch the top seams over, make your handles. I found 24” long by 1.5” wide to be a nice size. Make your handles by sewing the fabric as below. You can leave your seams raw or pull the center through for a finished look.


- Sew your purse handles into the bag as you sew the seams in. Go over the handles twice with your machine for a sturdy finish.

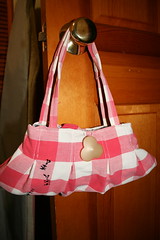
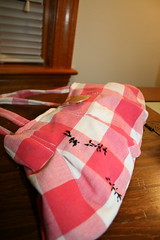
- Your bag should look roughly like this. You can add embellishments like a button enclosure or scrappy ants embroidered on the sides.
- I will post a quick tutorial later this week on how to make scrappy ants.

8 comments:
Very comprehensive tutorial. Well done. I think you might want to submit it to the "Sew Mama Sew" blog so that they feature it some month.
Love,
Jodi
how totally cool!!!! I'm thinking I'm going to have to try that!
V.
http://www.repurposed.wordpress.com
I love it! Thank-you so much for posting this!
Thank you, thank you, thank you!!! I can't wait to give it a try...I'll let you know when I finish mine and will post pictures and a link to your awesome tutorial!
Awesome. I just added a link to my purse blog.
oops, I messed up the link
http://iwannanewbag.blogspot.com
wow, awesome! i love that you took the time to photograph each step and write such an in-depth tutorial. Well done!
good post
Post a Comment